Design your employee ID with our company card design software
Creating stunning professional employee IDs has never been easier thanks to our company card design software BadgeMaker Design, a core component of BadgeMaker. With BadgeMaker Design, you can create professional card designs tailored to your specifications, including backgrounds, dynamic fields, shapes, images, barcodes, signatures, and passport photos.
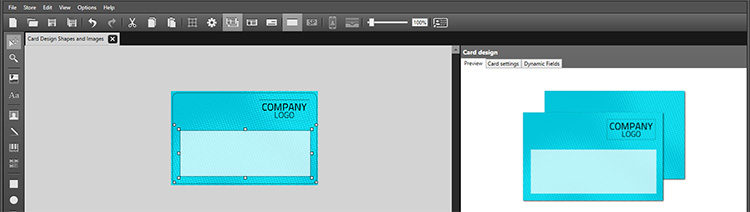
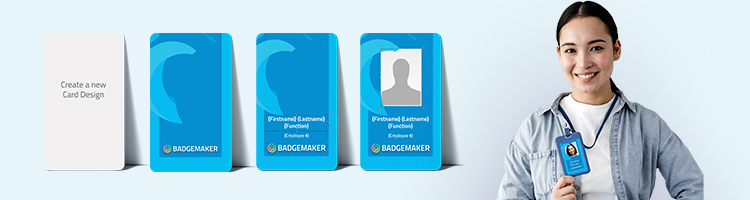
Step 1: Create a New Card Design
Start by launching BadgeMaker Design and initiating a new card design. Set your design preferences, including card format (standard CR80 or custom), single- or double-sided layout, Magstripe options, and portrait or landscape orientation.
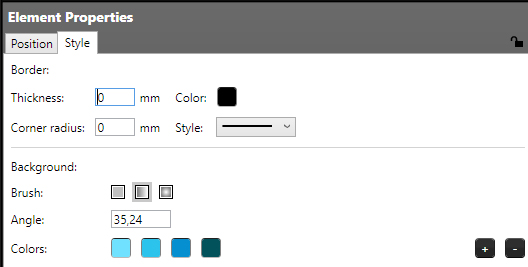
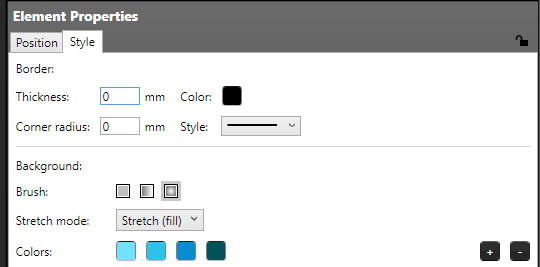
Step 2: Add Background & Logo
Next, customize your card design with a background and logo. Choose from a selection of pre-designed backgrounds or create your own using the shape or image tool. Incorporate your company’s identity by adding your logo with ease. Simply use the image tool, click on the canvas, and select your logo image. Resize the logo as needed using the corner handlers.
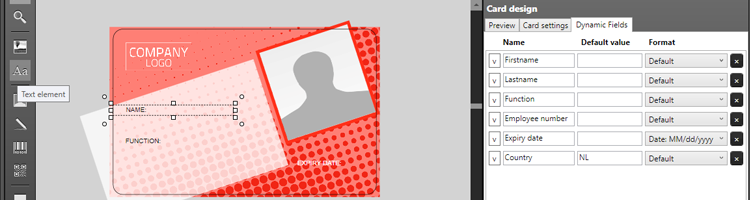
Step 3: Incorporate Static & Dynamic Text
With the foundation of your design in place, it’s time to add text. Whether you need static text for simple designs like gift cards or dynamic text for cards with personalized information, BadgeMaker Design makes it simple. Maintain a consistent layout while accommodating variable data for each printed card.
Step 4: Personalize with Photos & Signatures
Take your card design to the next level by adding ID photo and signature placeholders. These placeholders automatically link to the cardholder ID photos and signatures in your BadgeMaker Identity project, ensuring seamless personalization.


Ready to get started? Download BadgeMaker today and unlock the power to create stunning card designs effortlessly!