Get started with a new card design in BadgeMaker Design
Thank you for choosing BadgeMaker, this post helps you to get started and setup a new layout in BadgeMaker Design.
Step 1. Start BadgeMaker Design and a new card setup
First step is to click on the BadgeMaker design icon to start the software for card design. DesignStudio offers three menus, the main menu, the quick menu and the toolbar. Click on “File” in the main menu, followed by “New Card Design” or use the quick menu and click the New Design icon to start a new design.


Step 2. Set the configuration of the new design
Use this pop-up window to set the configuration of the new card. Name your card design. Select a size format from the dropdown or select “custom” to manually enter a size. The CR80 card is used for most card designs and the ZC10L is the large card format for the Zebra ZC10L printer. A new design is double-sided by default, check the single-sided box to create a single-sided card design. Check the Magstripe box to add a Magstripe to your design.
In this example we will setup a double-sided card with Magstripe, portrait mode for the front and back with a specialty layer on the front side. Be aware that you need a printer and ribbon that support the specialty layer to be able to print a card design with specialty layers. Now click on the create button to get started with this layout.

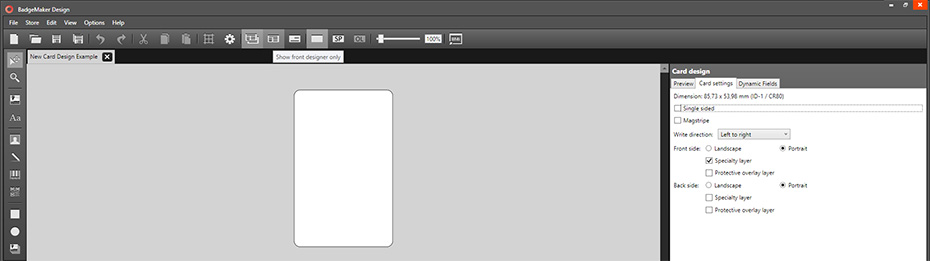
Step 3. Start designing this card
Ok, the card setup is done, we are now ready to start designing this card. You can work with the canvas in different views, showing for example only the front side or back side.
Click on this second tab in the top right corner to change the card settings if needed. You are now ready to use the toolbar and start a great design.