Easy and Secure Card Printing Software with BadgeMaker
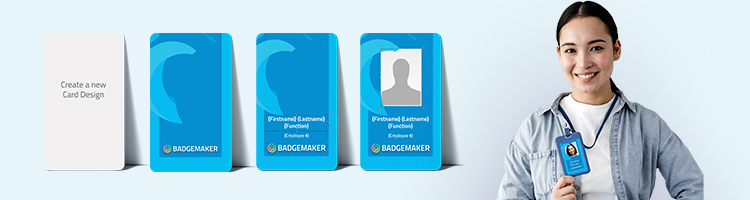
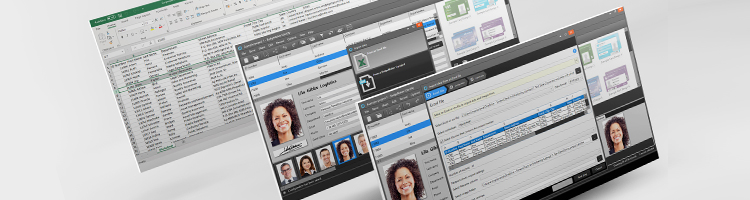
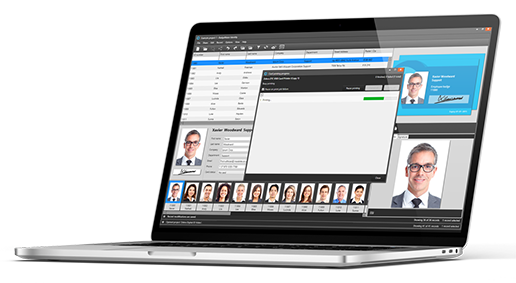
When it comes to ID card printing, having the right card printing software is essential. BadgeMaker is designed to simplify the process of creating and printing high-quality ID cards for employees, events, memberships, and more. Whether you need a custom design, secure encoding, or seamless batch printing, BadgeMaker provides the tools you need.
Why BadgeMaker as Your Card Printing Software?
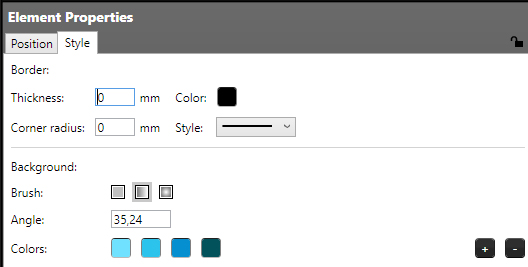
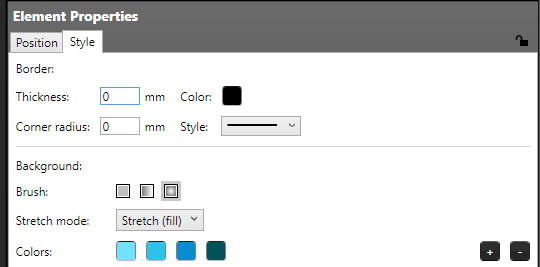
✅ Easy-to-Use Card Designer – Create layouts with images, text, barcodes, and dynamic fields.
✅ Seamless Data Integration – Import and manage cardholder information from Excel, CSV, or databases.
✅ Advanced Encoding Support – Encode RFID, barcodes and magnetic stripes with ease.
✅ Flexible Printing Options – Compatible with various card printers for smooth single or batch printing.
✅ Secure and Reliable – Ensure data integrity and card authenticity with smart encoding options.
Print ID Cards with Confidence
 With BadgeMaker, you have a complete card printing software solution that offers flexibility, security, and efficiency. Whether for employee IDs, access cards, visitor passes, or event badges, you can design, manage, and print professional cards with ease.
Ready to enhance your ID card printing process? Explore BadgeMaker today!