BadgeMaker Identity: How to start a new project
Thank you for choosing the id badge maker software: BadgeMaker. This post shows you how to create a new project in BadgeMaker Identity. Start a new project and add or import card holder data, connect your card designs, add triggers and print your cards.

First step is to click on the BadgeMaker Identity icon to start the software for managing your data and print your cards. Go to “File” in the main menu and click on “New” or click on the icon in the quick menu. Now click on the “New project” link or button and select one of the six options to start a new project.
Step 1. Start a new BadgeMaker project
Click on “Create a New Project” if you want to begin with a blank data grid and setup your own data columns.
Start with the setup of your project structure. The software offers you a couple of default data columns. Change or delete the columns you do not need and add columns to your liking.
Give your new project a name and add the needed data columns. We will add the data fields you also use in your Card Design.
The first data column will represent a unique number to identify a specific card holder. We will name the database field Employee number, set the data type to number and check the boxes to make this data field “Required” and “Unique”.
We will keep the Firstname, Lastname, number of cards and card status. Change the date of birth column to expiry date and add a new column for the “Functions”. Click on the “Add new property” button and give it the Functions name and add Country.
With the default input field, you can add a standard value to your data field, empty fields and new records will automatically get the default value you add to this data field.
Click on the “X” button to delete a data column from the project structure setup.
Click on the “Next step” button to go to step 2.


Step 2. Add biometric data to your project
Enable the biometric images you need in your project and determine how they will be stored.
The box for ID photos makes photos visible in the project and enables you to add photos. After checking the box, determine the ratio of the photo.
Select how and where photos will be saved within your project. Check this box if you want to use data columns to represent the filename of the photos saved in this project.
Select the format (png, jpg or bmp) and size, the image needs to be saved as.
The box for the signature makes signatures visible in the project and enables you to add signatures. The signature section works the same as the Passport photo section mentioned earlier.
Step 3. Setup the view configuration
Click on the “Next step” and choose for the default configuration or adjust the setup for Detailed and Gallery view.

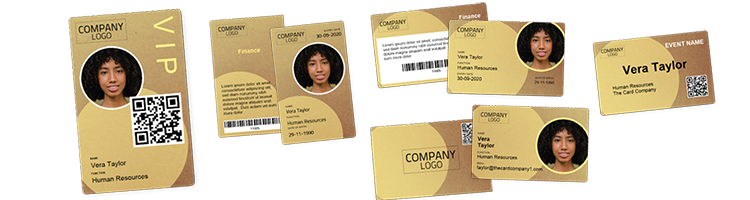
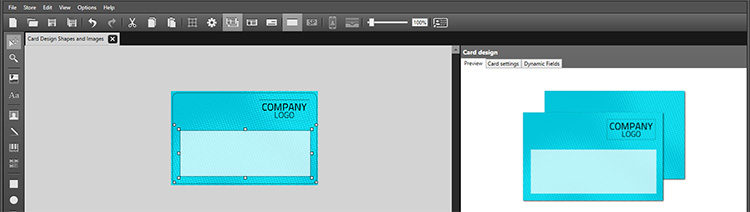
Step 4. Add Card Designs
Step 4. allows you to add card designs to your new project.
Select one of the available designs. Click on the “Add” button to add the design to your project. If you want to remove a design from your project, select one of the designs in this list and click on the remove button to delete the selected design from your project.
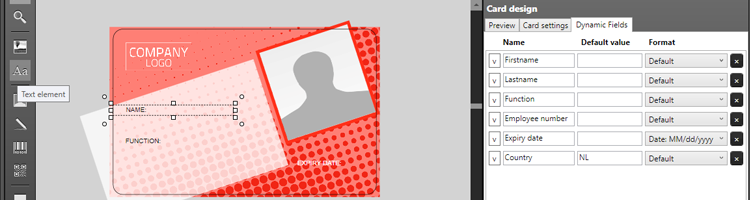
Select a design and then click on the “Edit bindings” button if you want to edit the bindings for the dynamic data of the card design.
The data binding tool is a powerful option in BadgeMaker Identity. When you add a new layout or update a layout you will be prompted to create the data bindings. Dynamic fields used and created in your layout may differ from the naming or spelling of a name that exists in your Project database. Therefore, you will be allowed to create the data bindings. The dynamic fields that are created in the layout are presented to the left and you can bind these dynamic fields to the database fields. The tool will create the bindings for you that are obvious: if they are the same or as they were bonded at the previous update; of course, you will be able to modify the bindings and confirm these settings. The new or modified layout will be available in the dashboard of BadgeMaker Identity.
Step 5. Setup triggers for your ID badge maker project
Step 5. Allows you to setup triggers for your project. Triggers can be used to automatically change data in your project on a certain condition or event.
A new project like we are creating has a couple of standard data columns connected to triggers that are also setup by default. For this project we will keep the default triggers. The number of cards will add value and increment by 1 after printing. The card status will automatically change to “Valid card” after printing.
Click on the create project and the new structure is ready. Now add data manually or import data.
Thank you for choosing id badge maker: BadgeMaker